Haynes Roadster

Building a Haynes Roadster – Engine

Building a Haynes Roadster – Engine

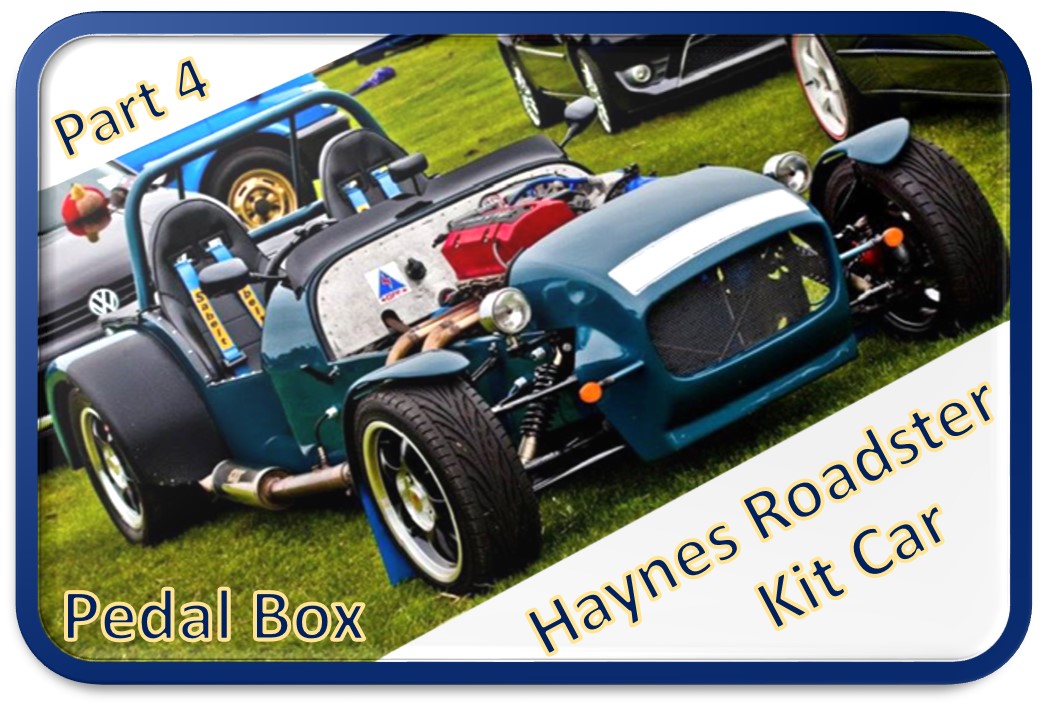
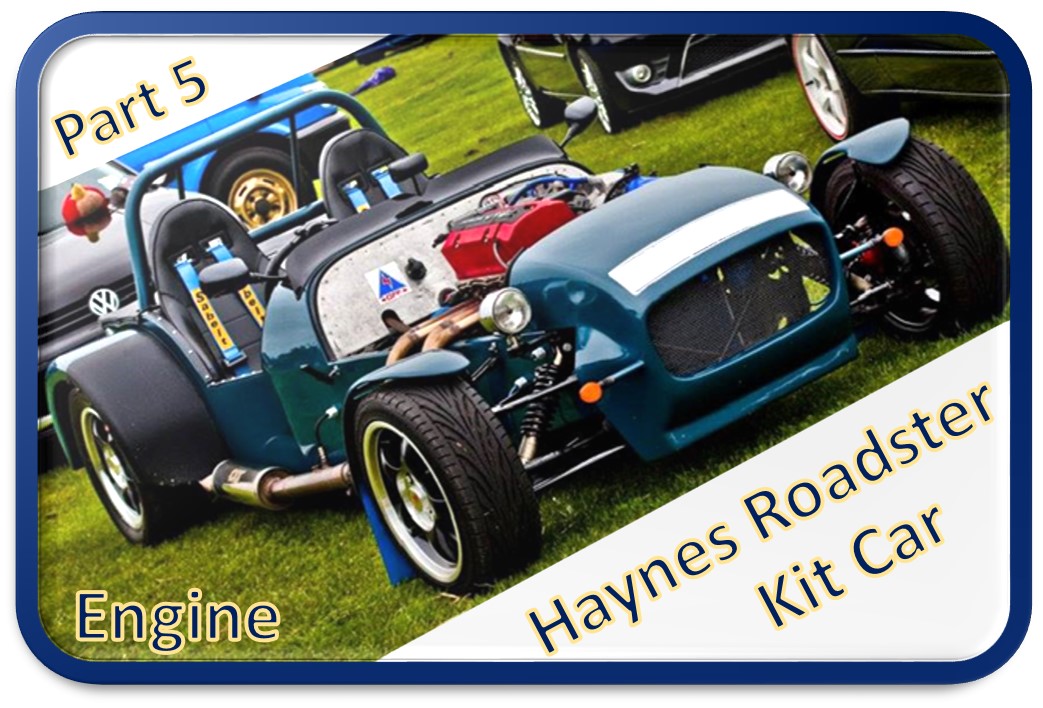
Welcome to part five of the Haynes Roadster build diary, in this section we will be talking about the Haynes Roadster engine. When I first built the car I really wanted a Honda S2000 engine, but I couldn't afford one. So, I settled for what I considered to be the next best thing, a Honda super Blackbird motorcycle engine. The super Blackbird engine produces approximately 170 hp and comes with an integrated six speed sequential gearbox. That makes for a lot of fun in such a light weight car. I managed to pick up a 2001 engine with about 20,000 miles on the clock for just over £1000.

I had read online that the Honda Blackbird engine was susceptible to oil starvation when mounted in a car. As a motorcycle corners the bike leans and the oil stays parallel to the bottom of the sump. Since a car does not lean when cornering the oil in the sump 'surges ' to the side. This leads to the oil pickup being uncovered and ultimately starves the engine of oil. There are a couple of ways to combat this including; a baffle plate, an Accusump and the most expensive option, a dry sump. I opted for a baffle plate as I could not afford the other two options.

Installing the Haynes Roadster engine

Installing the engine is a relatively simple affair. It involved making a removable frame from 1" box section to support the engine within the chassis. I connected the frame to the engine using existing pickup points on the cylinder block. The chassis needed some additional brackets welding on to be able to support the engine frame. The brackets were made from 3mm mild steel and secured the frame with M12 bolts.

Haynes Roadster Engine - Motorbike Engine Cradle Frame

I also added some 5 mm thick tabs to the chassis as gearbox mounts. Since the car would be loud and antisocial anyway; I decided to rigidly mount the engine rather than using rubber bushings. Comfort is overrated anyway.

Since the car uses a Propshaft rather than a chain drive, the sprocket was removed and replaced with an adaptor. The adaptor fits on the gearbox output shaft splines and provides a flange for the Propshaft to bolt up to.

Haynes Roadster Engine - Motorbike Engine Lower Gearbox Mount

Gear linkage

Since the motorcycle engine uses a sequential gearbox the gear linkage is quite straightforward. On a motorbike you normally change gear using your foot; in a car by using your hand. I therefore had to come up with a system to convert from foot to hand operation. To do this I used the existing foot operated gear lever and connected it to a simple push pull lever in the cockpit via a Bowden cable.

Haynes Roadster Engine - Motorbike Engine Gear Linkage

If you are not familiar with Bowden cables they are essentially a steel cable with threaded ends inside a flexible plastic conduit. Due to its design the Bowden cable can transmit push and pull forces around corners making it ideal for a gear linkage.

Parts of a Bowden Cable


Posted by Robert in Projects
Building a Haynes Roadster – Suspension

Building a Haynes Roadster – Suspension

Like almost all modern kit cars the Haynes Roadster uses a double wishbone suspension. The front upright and rear bearings come from a Ford Sierra along with some other donor parts. The lower wishbones are made from 1" 16SWG seamless tube whereas the upper wishbones are ¾" 16SWG seamless tube. The reason for this is that the lower wishbones, during cornering, carry more load than the upper wishbones. Also the load experienced by the lower wishbone is compressive whereas the upper wishbone is tensile therefore the increased diameter of the lower wishbone not only gives it more cross-sectional area for the same wall thickness but also more resistance to buckling.

The Importance of adjustable suspension!

If you are building your own car be it for the road or the racing circuit it is extremely important that you build in some adjustment. Here are a couple of reasons why adjustable suspension is so important.

  1. It allows you to tune out any manufacturing errors. Imagine if you make the upper wishbones too long or too short and you cannot adjust the length then your camber angle is going to be wrong.
  2. It allows you to set the car up symmetrically. Using the
    example of upper wishbone length again. Imagine if one upper wishbone is longer than the other. If you cannot adjust then to make them both the same then the car will handle differently when it is turning left vs when it is turning right.
  3. It allows you to adjust the balance of the car. This is looking more at adjustable corner weight and damping. That said, toe, camber and other geometric factors do play a part in this but I think that might have to be an topic all on its own. Being able to adjust the damping of the front and rear axles allows you to easily adjust the cars ballance between oversteer, neutral steer and understeer. Being able to adjust the corner weights makes sure that each tyre on a given axle sees the same amount of load, this helps to ensure that the car feels the same regardless of whether it is turning left or right.

Looking at the rear suspension picture below you can see that there is Camber adjustment built into the upper wishbone in the form of a threaded joint. The toe angle can also be adjusted by placing shims between the rear upright and the bearing block and the corner weight and damping can be adjusted via the shock absorber.

Looking at the front suspension picture below you can see that there is Camber adjustment built into the upper wishbone in the form of a threaded joint. The toe angle can also be adjusted by turning the track rod extension. Corner weight and damping are adjusted in the same was as on the rear via the shock absorber. Unfortunately there is no way to adjust the caster angle with this design.

Posted by Robert in Projects